10. July, 2025delish0
The following is a guide to the whole process of rapid production of the ribbon slitting machine from installation to commissioning, which is clearly presented step by step to help you efficiently complete the equipment production:
1. Preliminary preparation
1. Equipment acceptance
◦ Check whether the equipment model and the list of accessories (such as blades, rewinders, inflatable shafts, etc.) are consistent with the contract.
◦ Check whether the appearance of the equipment is damaged by transportation and whether the electrical components are in good condition.
2. Site Requirements
◦ The ground is flat (level≤0.1mm/m), and the load bearing capacity is up to standard (usually ≥ 2 tons/m²).
◦ Ambient temperature and humidity: temperature 20±5°C, humidity 40%~60% (avoid static electricity and material deformation).
◦ Power supply: 380V three-phase power (or according to equipment requirements), ground resistance≤ 4Ω.
3. Tools & Consumables
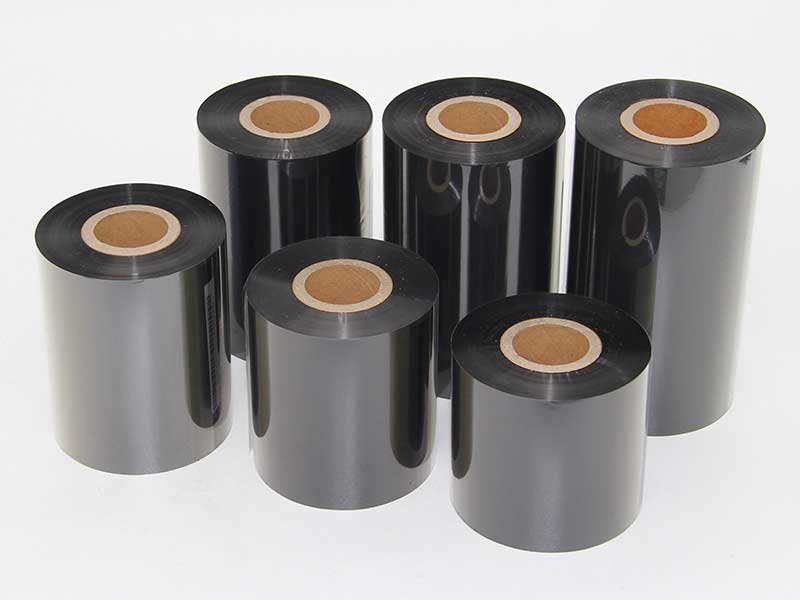
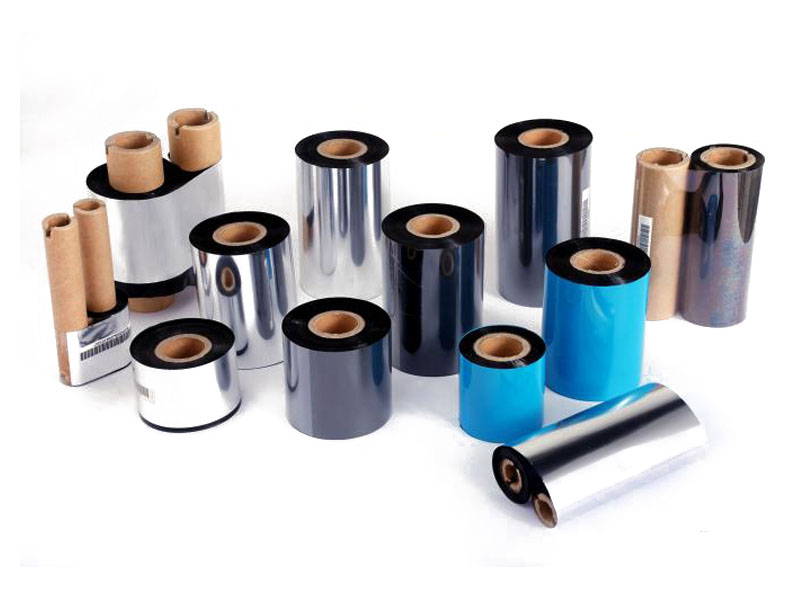
◦ Prepare a micrometer (to measure the thickness of the ribbon), a tensiometer (to measure the tension value), a dust-free cloth, and alcohol (to clean the rollers).
Second, the installation process
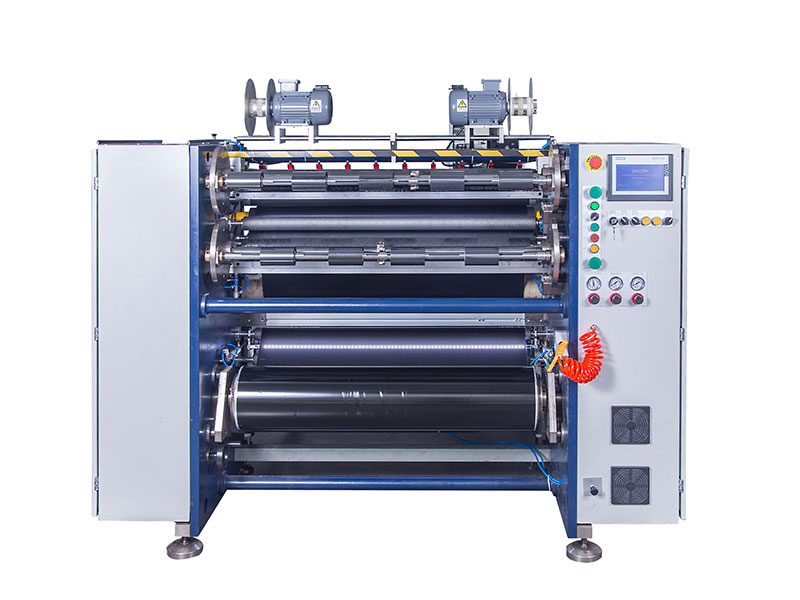
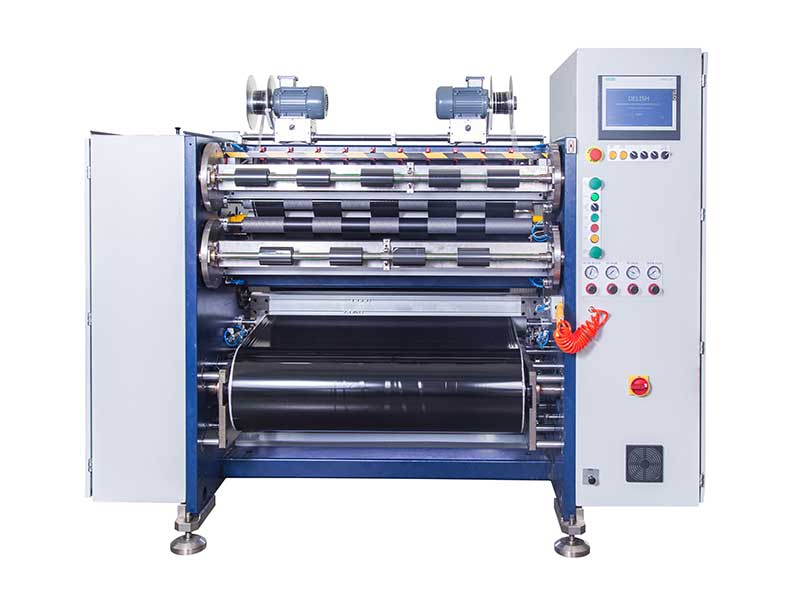
1. Mechanical installation
◦ Positioning and fixation: Use a laser level to adjust the base of the device and fix it with expansion bolts to ensure that the body does not shake.
◦ Roller shaft installation: Install the unwinding shaft, traction roller, slitting knife group, and winding shaft in turn, and confirm the parallelism of each roller (error ≤ 0.05mm).
◦ Blade assembly:
▪ Round knife slitting: adjust the amount of blade overlap (usually 10%~20% of the thickness of the ribbon).
▪ Flat knife slitting: Set the blade gap (e.g. 0.005mm for PET material).
2. Electrical connections
◦ Connect PLC, inverter, and servo drive according to the circuit diagram, and pay attention to the grounding of the shielded wire (anti-interference).
◦ Check whether the signals of the emergency stop button and photoelectric sensors (such as E-stop and deviation correction sensors) are normal.
3. Debugging steps
1. No-load test
◦ Start the device, gradually increase the speed to the maximum design speed (e.g., 300m/min), and observe the vibration/noise (outliers: vibration ≤0.1mm, noise ≤75dB).
◦ Test tension control system: simulate unwinding-winding tension fluctuations (target value error within ±5%).
2. Test cutting with material
◦ Parameter settings:
▪ Slitting width: Enter the target value (such as 50mm), and the guiding system will automatically align it.
▪ Tension gradient: unwinding tension (e.g. 2kgf) → winding tension (e.g. 1.8kgf).
◦ Test Cut Verification:
▪ Cut 100 meters at low speed (10m/min) and check the burr at the edge of the slitting (microscopic observation, the burr ≤ 0.02mm is qualified).
▪ High speed (200m/min) cut 500 meters to verify the uniformity of winding (staggered ≤± 0.5mm on the end face of the coil).
3. Accuracy calibration
◦ Slitting width: Sample with an image measuring instrument and adjust the position of the tool holder (tolerance±0.1mm).
◦ Tension closed-loop control: Correction of PID parameters (proportional gain, integration time) via HMI.
Fourth, common problems solved
| Problem phenomenon | Possible causes | solution |
| The winding edges are wrinkled | Uneven tension/insufficient air pressure | Check the air pressure (≥0.6MPa) and recalibrate the tension roller |
| Slitting surface burr | Blade passivation/clearance is too large | Replace the blade (material: cemented carbide) and adjust the clearance |
| Ribbon mistracking | Low guiding sensitivity | Adjust the photoelectric sensor threshold and clean the guide rollers |
5. Put into operation and acceptance
1. Continuous operation test: 8 hours of full load production, record the number of failures (target MTBF≥ 500 hours).
2. Finished product inspection: sampling inspection of slitting width, roll diameter, appearance (no scratches/oil stains).
3. Operation training: focus on training parameter setting, emergency shutdown process, and daily checklist (such as daily inspection of air circuit tightness).
6. Suggestions for efficiency optimization
• Automation upgrade: CCD visual sorting is installed (defect detection rate ≥ 99.9%).
• Preventive maintenance: lubricate the rails every 500 hours and replace the servo motor encoder battery every 2000 hours.
Through the above process, the ribbon slitting machine can usually be completed from installation to mass production within 3~5 days. It is recommended to keep the parameter record of the first test cut as the benchmark data to facilitate the subsequent quick changeover.
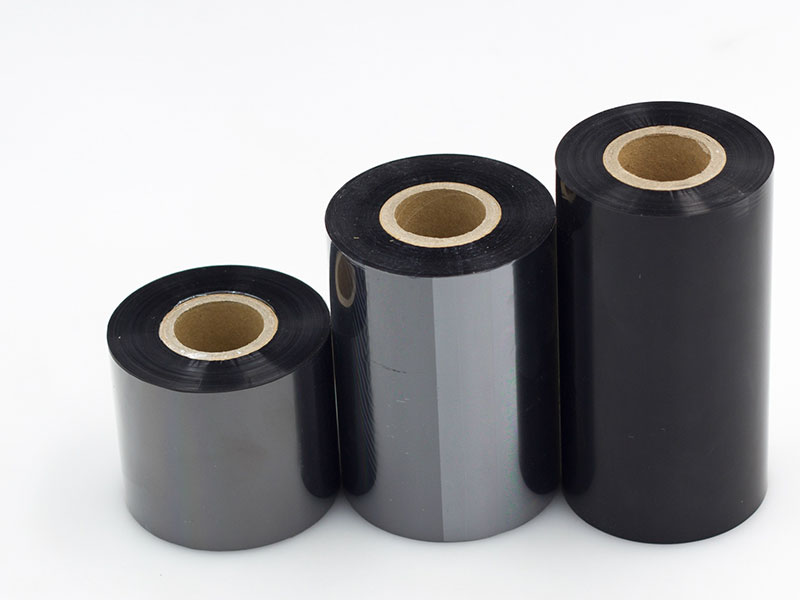
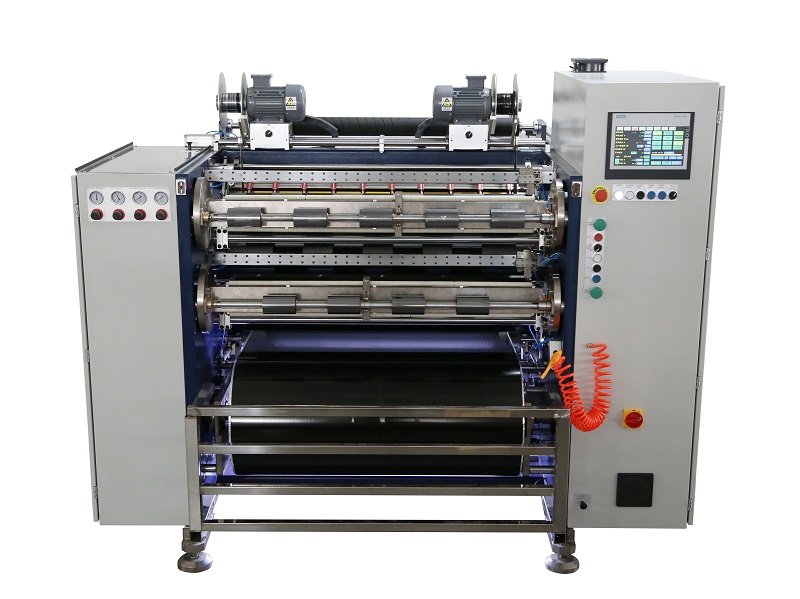 Fully Automatic TTR Slitter RSDS8 Plus
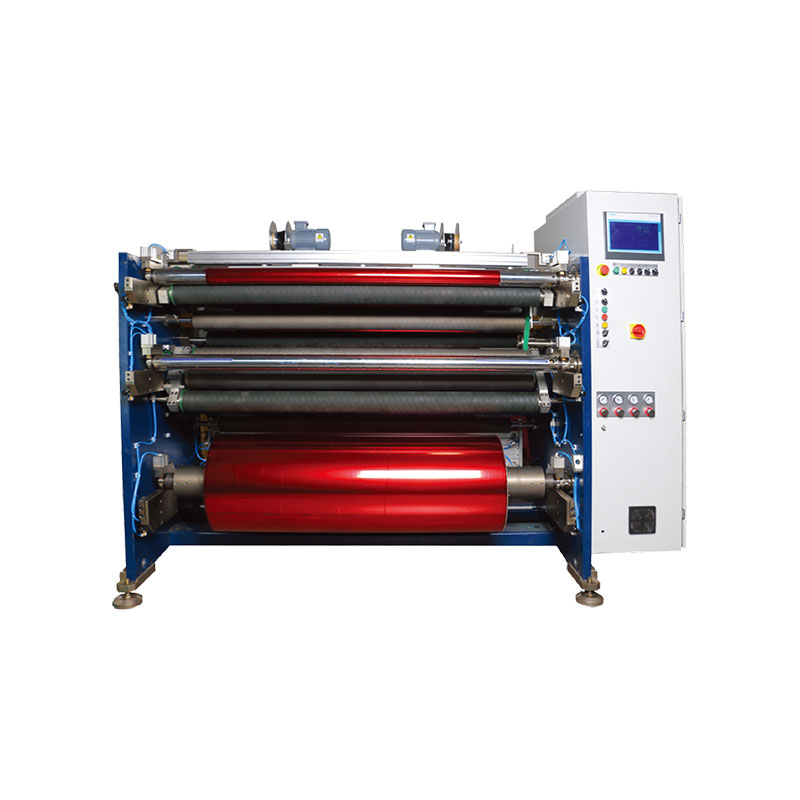 Hot Stamping Foil Slitter 1600mm
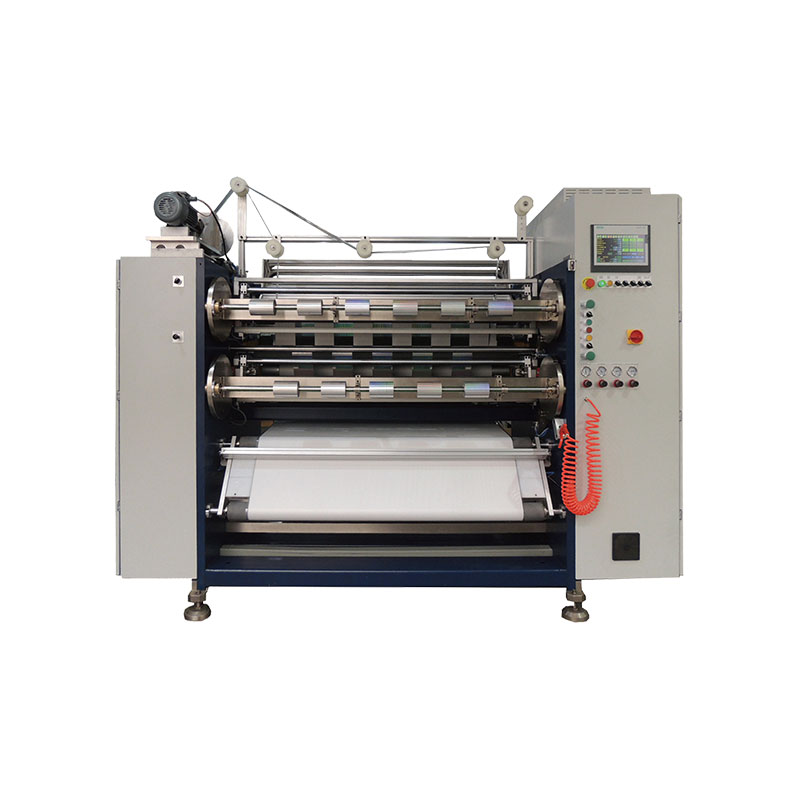 Hot Stamping Foil Slitter (4 Shafts)
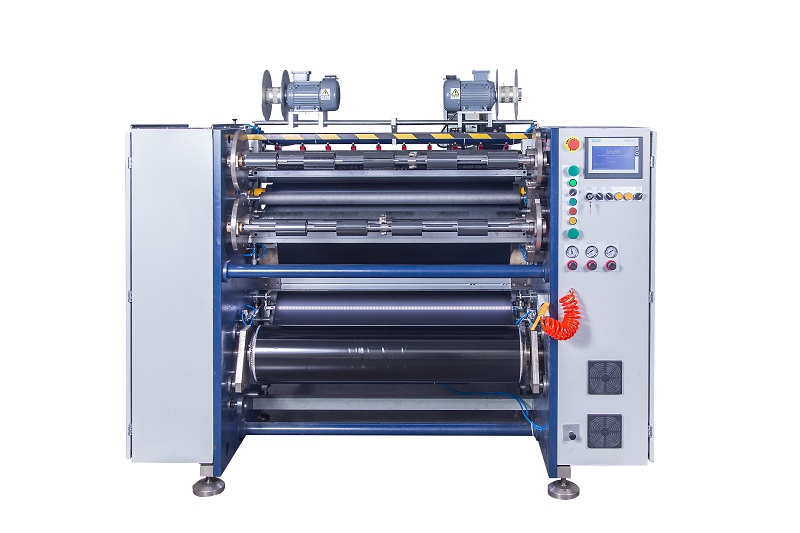 Semi-Auto TTR Slitter RSDS2 Plus
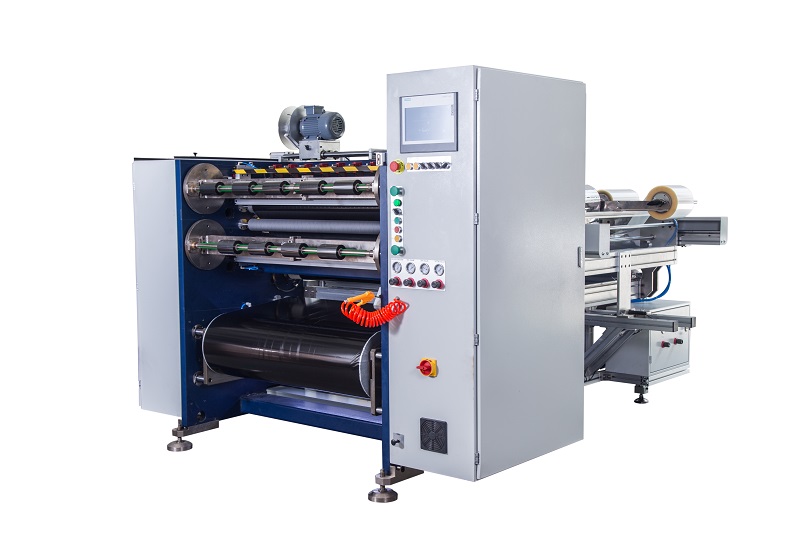 Semi Automatic TTR Slitter RSDS5 Plus
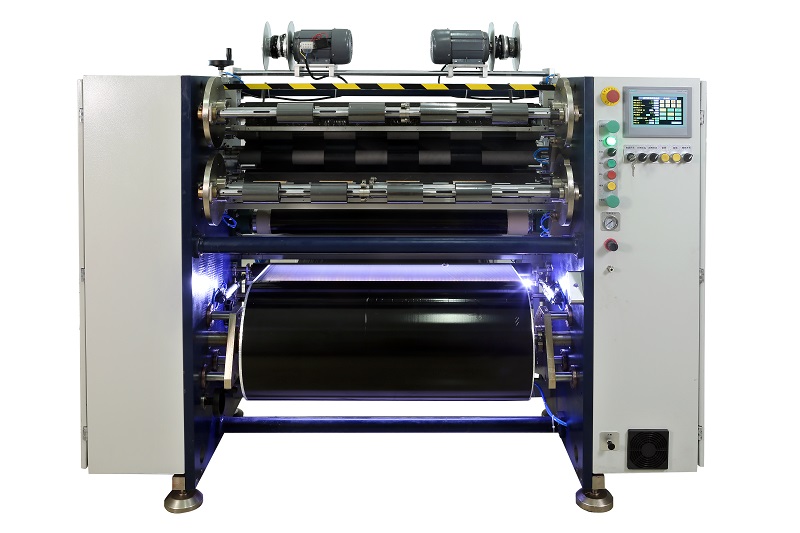 Manual TTR Slitter RSDS2
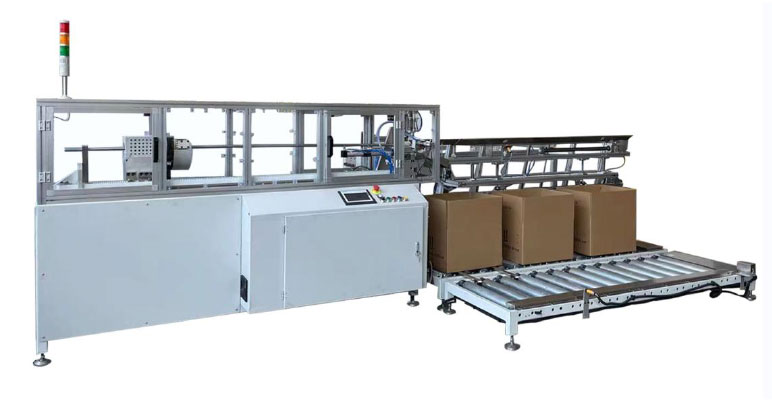 Auto Paper Core Cutter
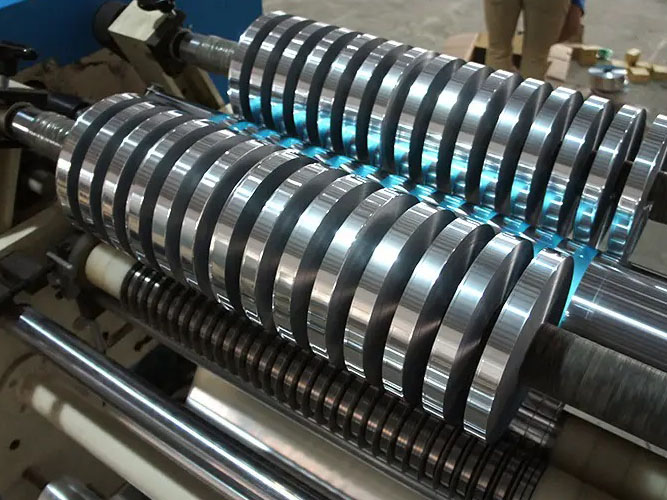 Aluminum Foil Slitting Machine


 +86 135 9951 7291
 support@delishgroup.com
 +86 135 9951 7291