29. March, 2024delish0

Use of slitting machine:
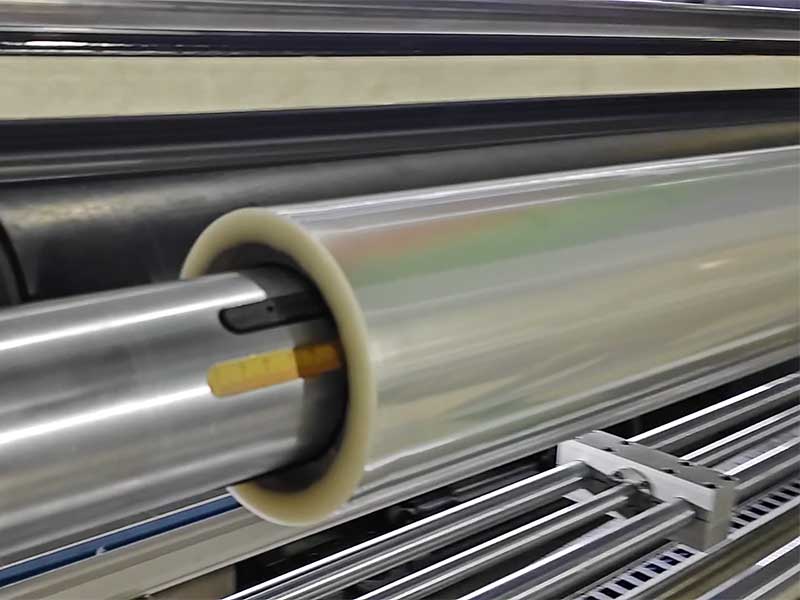
When turning on the power supply, the first thing to check is whether the static elimination mode has been turned on, which is to prevent the machine from malfunctioning and causing unnecessary losses during operation. (Electrostatic mode will control the system). Next, turn on the air pressure switch of the slitter and adjust it to between 0.5 and 0.6. The adjustment of the air pressure is critical as it affects the stability of the operation. After the adjustment, use three to six cones to place the parent roll in the roll section.
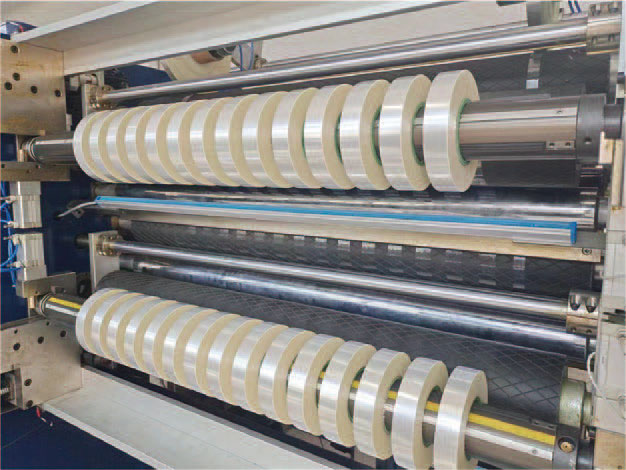
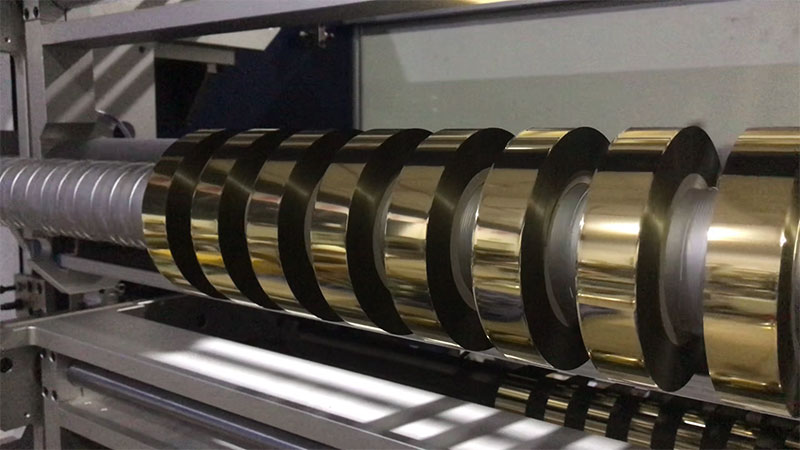
After the mother roll is put into the roll part, the machine should be debugged, the diameter of the mother roll should be compared, the rising or falling button should be pressed, the discharge rack should be adjusted to the appropriate height, and then the film should be clamped so that it can rotate at a uniform speed or quickly, and then the height adjustment button should be pressed again to confirm the safety. Next, to install the blade, first check the blade edge to see if there is any damage, and then choose the appropriate slitting method according to the needs to adjust the position of the blade. After this step is completed, it is time to debug the module of the paper core.
The purpose of adjusting the paper core is to place the paper in the correct position, so that the cut paper will be very uniform. When all the commissioning work is completed, the slitting machine should be put into a unified trial operation, and when the product produced by the trial operation is no problem, it can be used.
Adjustment of slitting machine:
1. Install the front rack, middle rack and rear rack on the reserved plane in a predetermined position, and horizontally calibrate and firmly contact with the foundation, so that the center line of the rack is in a longitudinal straight line;
2. Install each internal arrangement according to the set position, adjust the level of each medium, unwinding and winding, etc., and the axis is parallel to each other, perpendicular to the direction of the belt movement. During the installation process, the smooth surface of each medium should not be scratched, and the correct installation of each component should be maintained.
3. Install the power distribution cabinet next to the front rack or in a convenient place to operate, connect the circuits according to the instructions, and finally connect the power supply (be sure to disconnect the power supply when wiring).
4. Install the configured oven on each rack in order, and fix it with bolts, keep the oven and the rack level and stable.
5. Check whether there is any omission in the installation, ensure the installation of heaters, heat sensors, and transmission media, check whether the circuits are connected correctly, and whether the wires have no leakage, whether the whole body is offset properly, and whether the oven is spaced.
6. Install the gears, pulleys and sprockets, and try to rotate appropriately to ensure that the rotation is flexible and there is no abnormality and no blockage, and add corresponding lubricating oil to the chain and reducer.
7. After the installation is correct, start the test machine one by one, if there is any abnormality, it should be stopped immediately to check and adjust, and then start the production after the confirmation is completed (pay attention to personal safety and machine safety during operation).
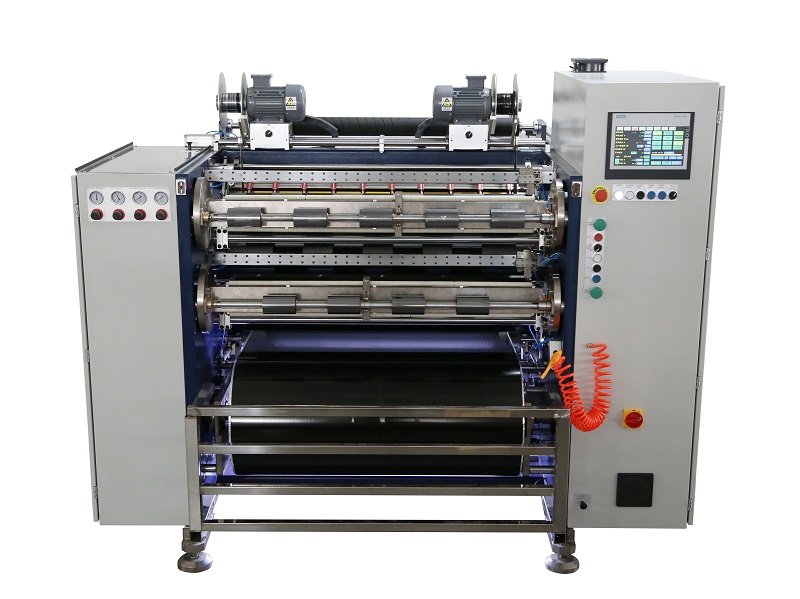 Fully Automatic TTR Slitter RSDS8 Plus
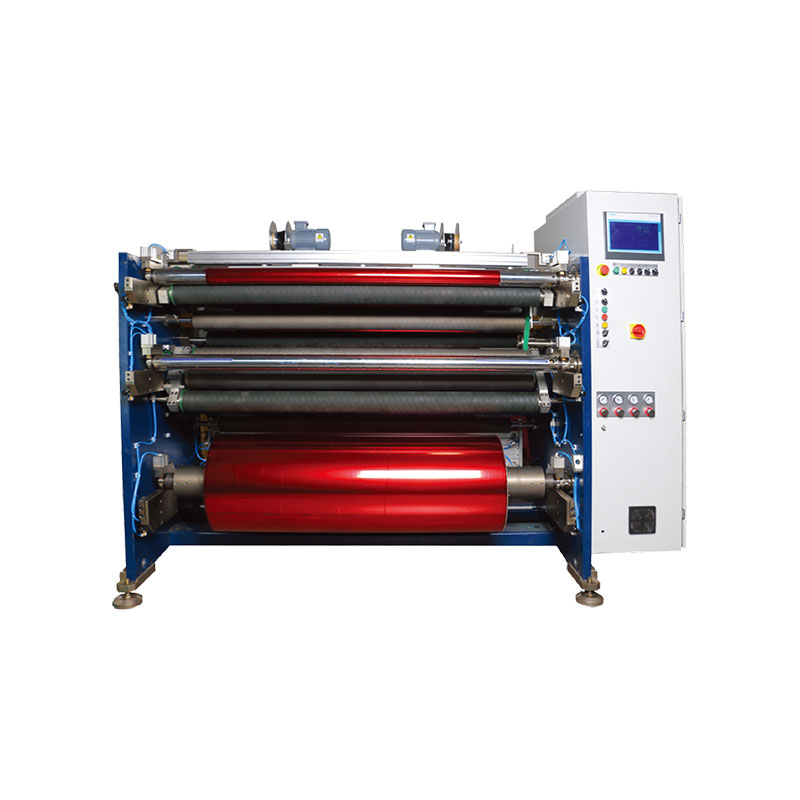 Hot Stamping Foil Slitter 1600mm
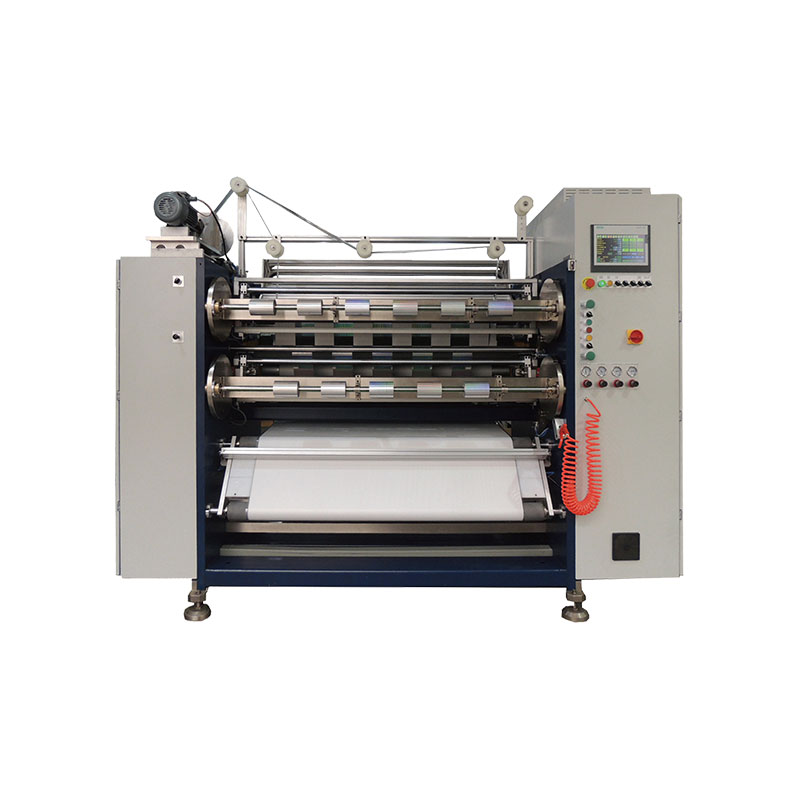 Hot Stamping Foil Slitter (4 Shafts)
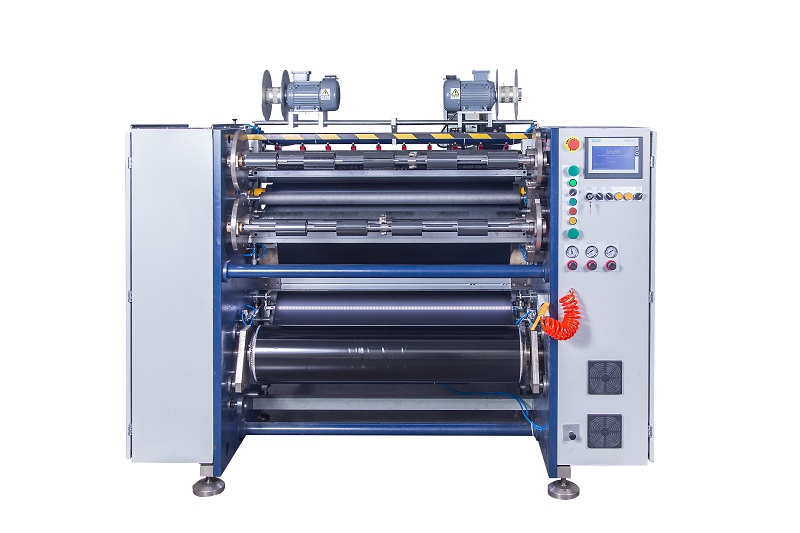 Semi-Auto TTR Slitter RSDS2 Plus
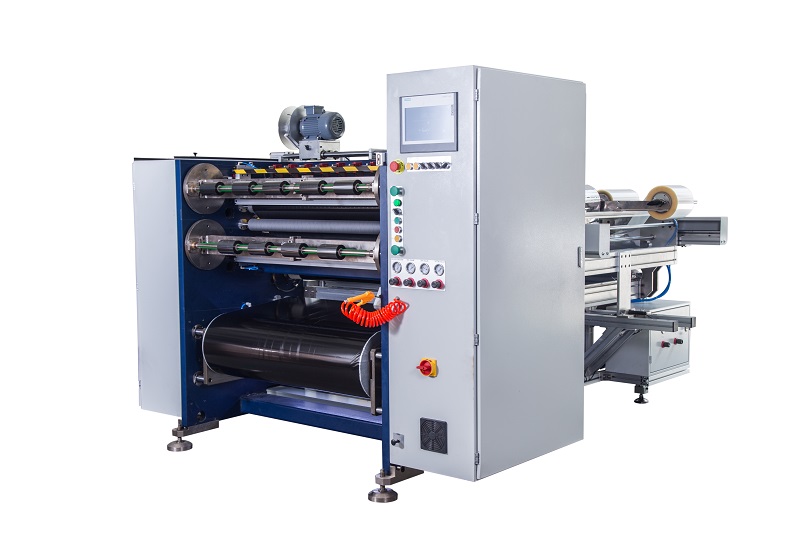 Semi Automatic TTR Slitter RSDS5 Plus
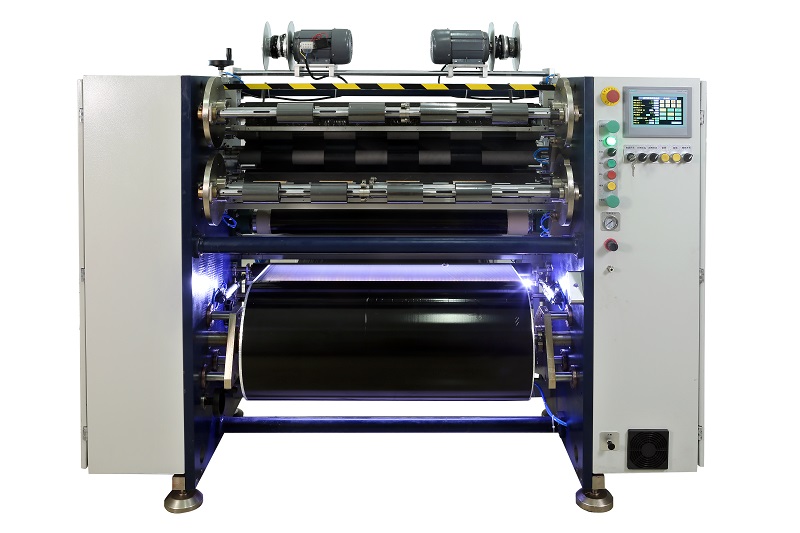 Manual TTR Slitter RSDS2
 Auto Paper Core Cutter
 Film Slitting Machine


 +86 135 9951 7291
 support@delishgroup.com
 +86 135 9951 7291