17. April, 2026delish0
In the slitting process of solar films (automotive thermal insulation films, building films, etc.), winding and wrinkling are one of the most common and troublesome quality problems. Once wrinkled, it not only affects the appearance of the product, but may also lead to the scrapping of the entire roll of film. So, what should I do when I encounter wrinkles? The following provides a set of quick troubleshooting steps in the order from easy to difficult and from outside to inside.
Step 1: Check whether the winding tension is appropriate
Too much or too little tension is the main cause of wrinkles.
• Excessive tension: The membrane is overstretched, prone to wavy folds at the edges, especially with thin solar films.
• Too little tension: winding is loose, and sliding between layers produces "dead folds".
Quick troubleshooting method:
1. Check whether the winding end face is flat and whether the edge is in the shape of a "bell" - the bell mouth is mostly low tension, and the edge is tight and the tension is large.
2. Press the winding surface with your hand to feel the tightness. Normally, it should be like a new book, with a certain sense of tightness but not too hard.
3. Gradually reduce or increase the winding tension (5-10% each adjustment) and observe the effect.
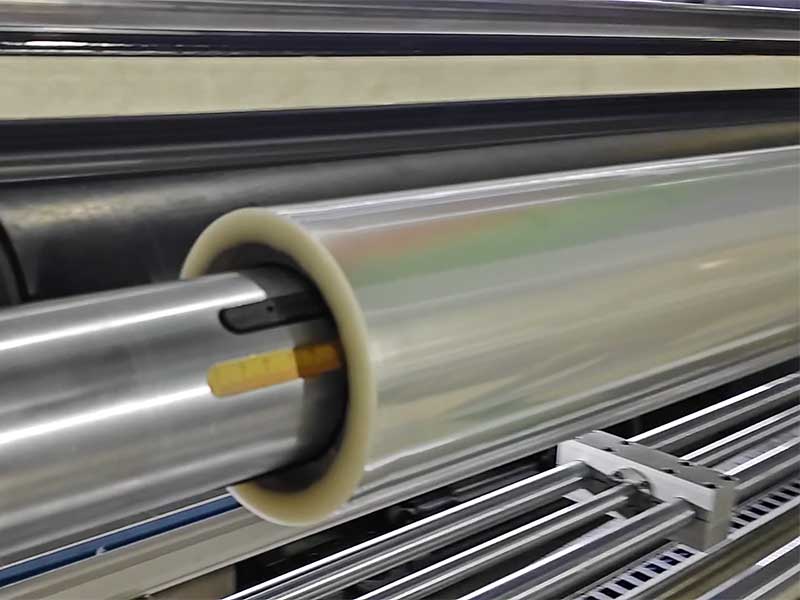
Step 2: Check the condition of the pressure roller (contact roller).
The roller is responsible for flattening the film on the winding core, and the frequent problems include:
• Uneven surface of the roller: pits, scratches, or aging of the rubber layer, resulting in uneven local pressure.
• Unbalanced pressure at both ends of the roller: if one side is pressed tightly and the other side is loose, the film will deviate and wrinkle towards the side with less pressure.
• The pressure roller is not parallel to the rewinding shaft: it generates an axial force and causes wrinkles.
Quick troubleshooting: Use a ruler or feeler gauge to measure the gap between the pressure roller and the rewinding shaft (comparison of the two ends), and the deviation should not exceed 0.5mm. At the same time, turn the roller with your hand to feel whether there is any stuttering or jumping.
Step 3: Check the slitting blade and knife marks
Wrinkles caused by blade problems are easy to overlook:
• Blade dullness: Burrs or tiny tears occur when slitting, and burrs stack to form wrinkles when rewinding.
• Excessive knife pressure: cutting through the pad layer or even injuring the retracted bottom paper, the edge of the film is deformed and wrinkled under force.
• Inaccurate alignment of the upper and lower knives: the cut membrane edge is jagged or curled.
Quick investigation: Take a piece of film that has just been slitted and look at the light to see if the edges are smooth. If there are obvious burrs or curls, give priority to changing the knife or adjusting the knife pressure.
Step 4: Check the reel and paper core
• Deformed or uneven end face: The winding starts out not round, and periodic wrinkles occur with each turn.
• The paper core is too loose to fit with the reel reel: slippage causes tension fluctuations and internal wrinkles.
• Winding of the winding shaft: It is difficult to detect with the naked eye, but it will shake when rotating, and the film surface will wrinkle under alternating stress.
Quick troubleshooting: low-speed idling retraction retraction, use a dial indicator to measure the runout, more than 0.3mm needs to be corrected or replaced.
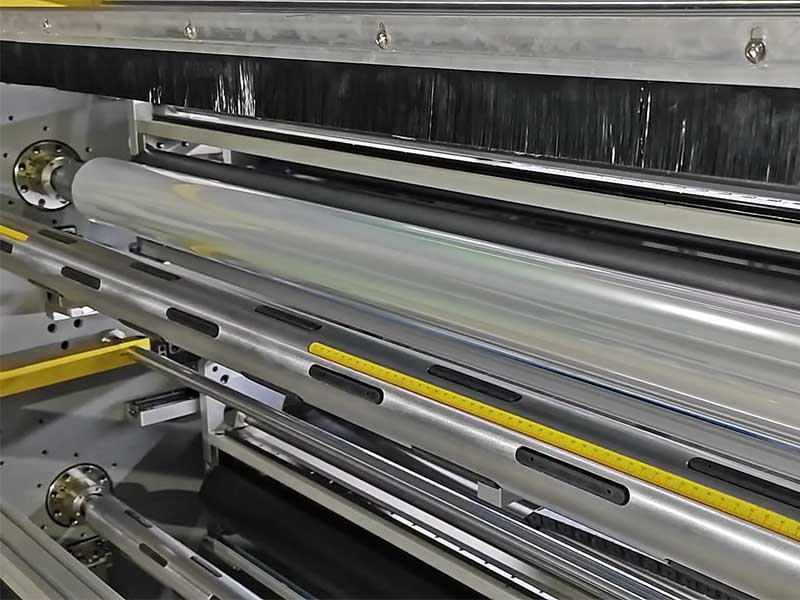
Step 5: Check the unwinding and roller guide system
Wrinkles do not necessarily occur only in the winding section, but may also be "the disease comes from the upstream":
• Unwinding deflection: The film swings from side to side from the beginning of unwinding, and is uneven before entering the winding.
• Guide rollers do not rotate or rotate poorly: the membrane slides and rubs against stationary guide rollers, creating oblique folds.
• Adhesive or foreign matter on the surface of the guide roller: local adhesion leads to uneven stress on the film surface.
Quick troubleshooting: Manually pull the film roll to feel whether each guide roller rotates flexibly. Observe whether the membrane trajectory is stable and centered, and adjust the unwinding and correction device if necessary.
Step 6: Check the material itself
If everything is in order with the device, the problem may be in the solar film itself:
• There are folds inside the membrane roll: not checked before loading, and the wrinkles still exist after slitting.
• Poor film thickness uniformity: the thickness of the same roll film varies greatly in different positions, and the thick places are raised and wrinkled when rewinded.
• The membrane is damp or improperly stored: the membrane surface is deformed and hemmed.
Quick investigation: Change to a roll of known normal quality membrane for trial cutting. if it is no longer wrinkled, it means that there is a problem with the original film; If it is still wrinkled, continue to check the equipment.
Step 7: Check the process parameter combination
Sometimes individual parameters work fine, but when combined, something goes wrong:
• The winding tension curve is set unreasonably: for example, the taper tension decreases too quickly or too slowly.
• Excessive speed: The flattening effect of the lower film at high speed becomes worse, and the air is caught in before it can be discharged.
• Ambient temperature and humidity: The film becomes soft and easier to wrinkle under high temperature and humidity.
Quick troubleshooting: Reduce the speed by 30%-50% for trial running, and if the wrinkle is significantly reduced, optimize the tension curve or reduce the speed.
Summary: Quick troubleshooting formula
One look at the tension, two look at the roller, three look at the blade and four look at the core.
Five check guide rollers and six check materials, don't forget the parameter speed.
It is recommended that operators check item by item in order when encountering wrinkles, and do not greatly adjust the tension or change the knife as soon as it comes up, so as not to "treat the symptoms but not the root cause". Record the results of each investigation to form a database of common problems, which can greatly reduce the troubleshooting time in the long run.
If the above steps still cannot be solved, it may be necessary to check for mechanical foundation problems, such as bearing wear, wall panel deformation, etc., at this time, it is recommended to contact the equipment manufacturer for professional maintenance.
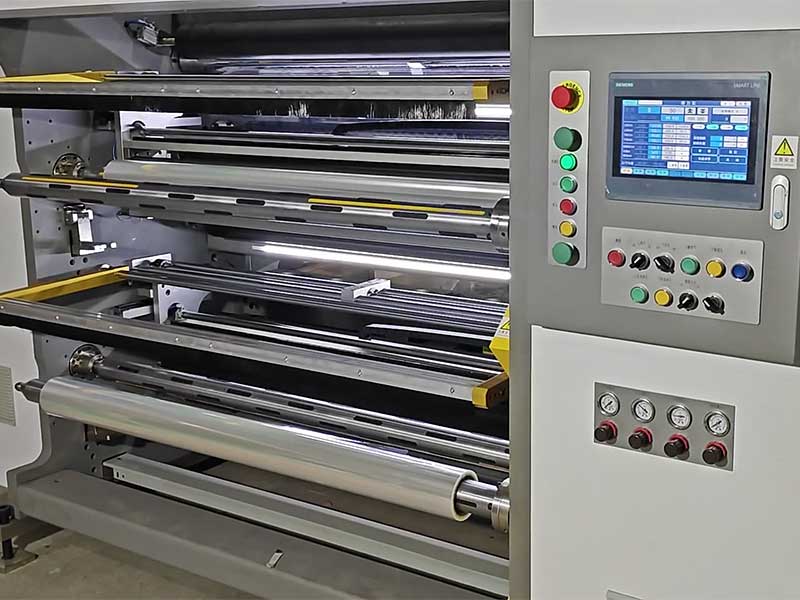
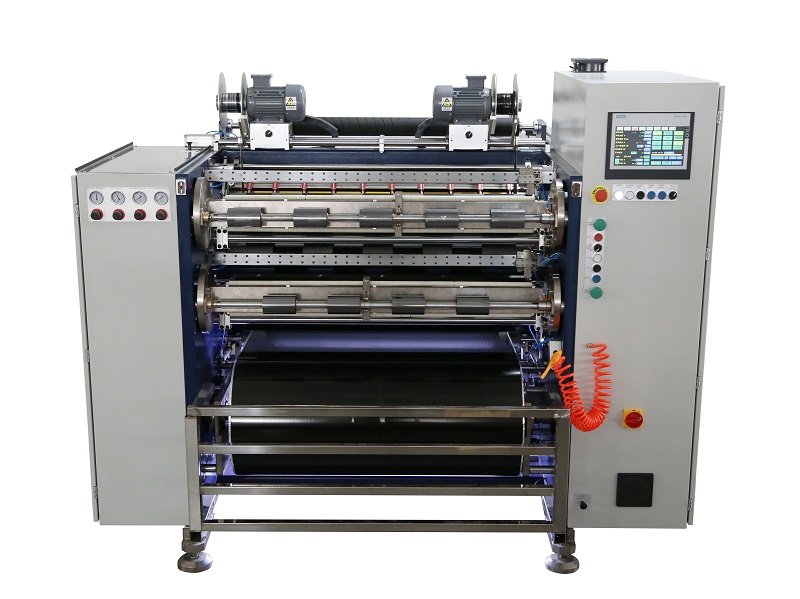 Fully Automatic TTR Slitter RSDS8 Plus
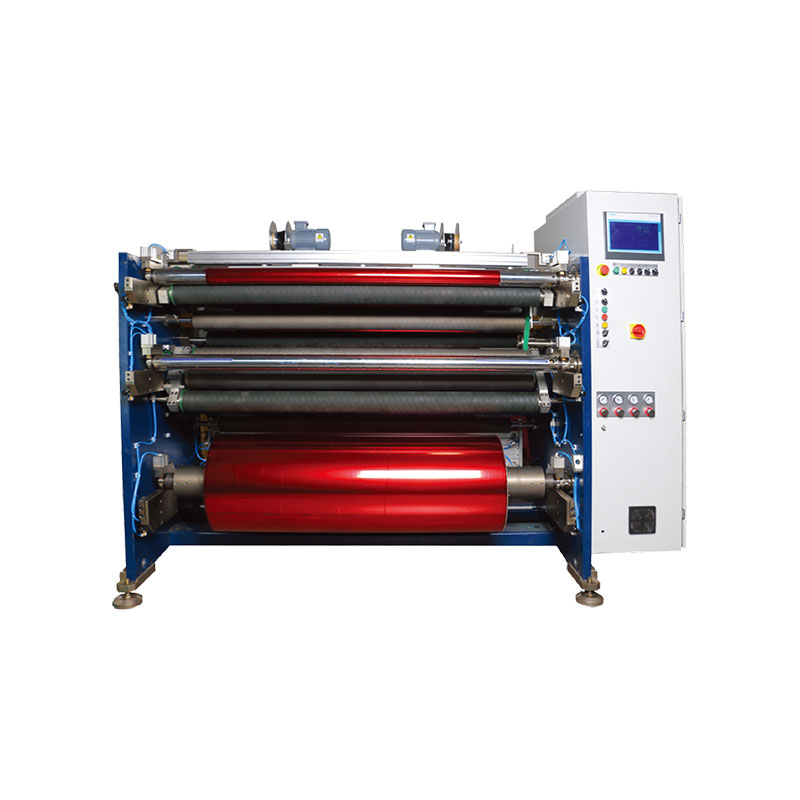 Hot Stamping Foil Slitter 1600mm
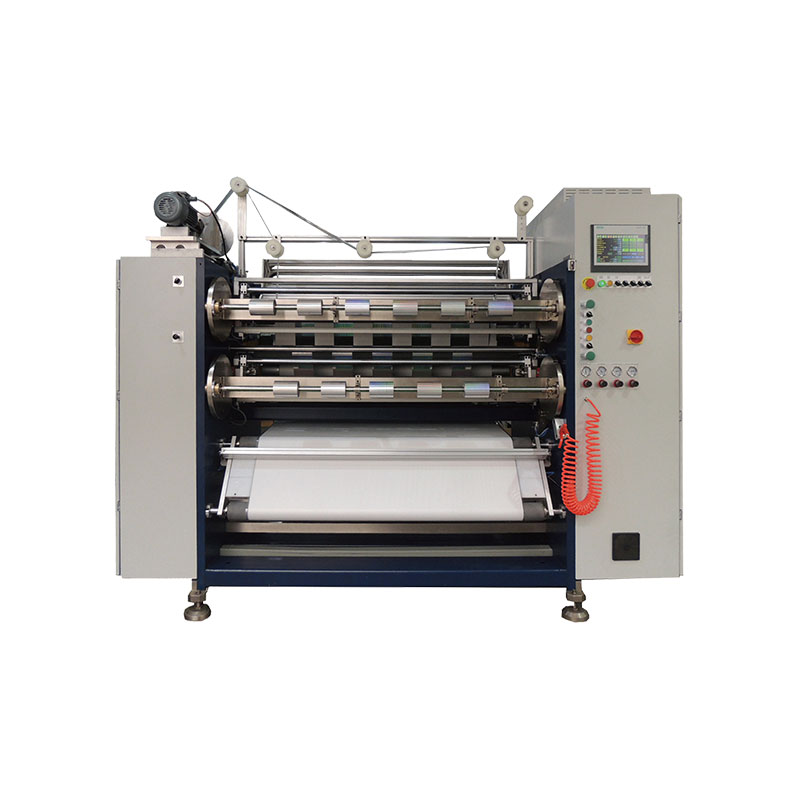 Hot Stamping Foil Slitter (4 Shafts)
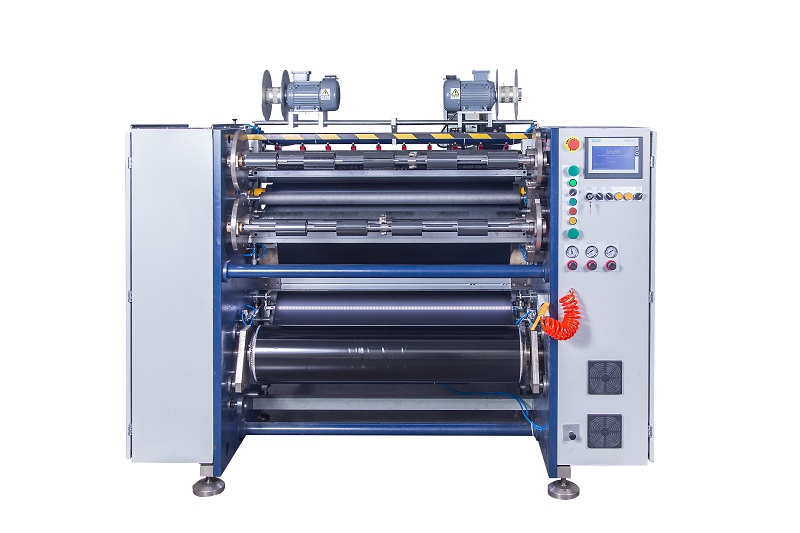 Semi-Auto TTR Slitter RSDS2 Plus
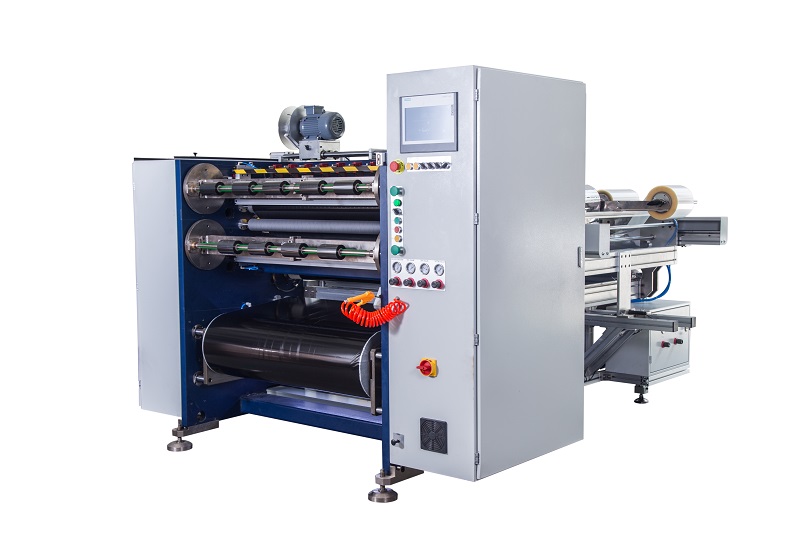 Semi Automatic TTR Slitter RSDS5 Plus
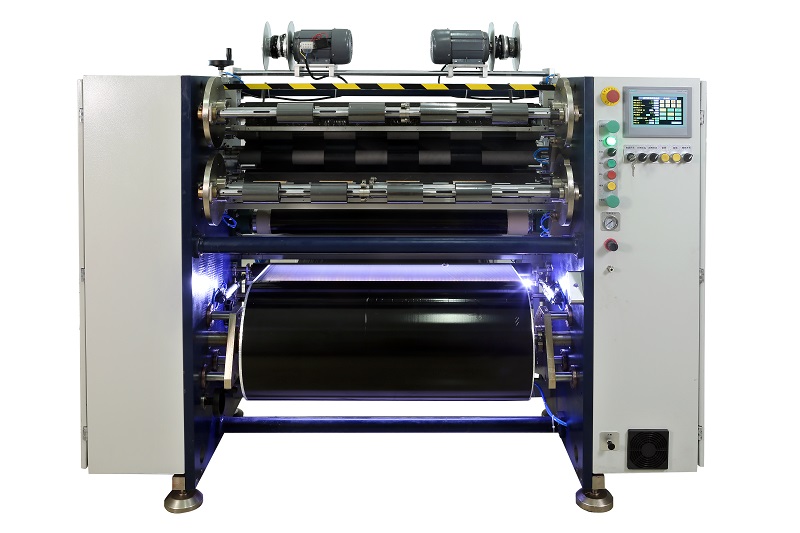 Manual TTR Slitter RSDS2
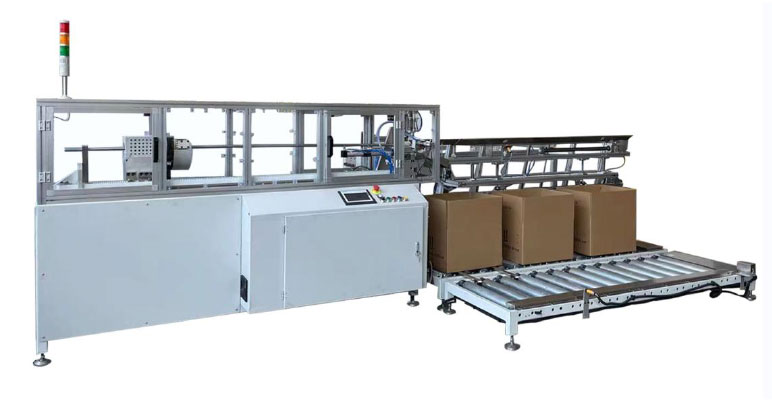 Auto Paper Core Cutter
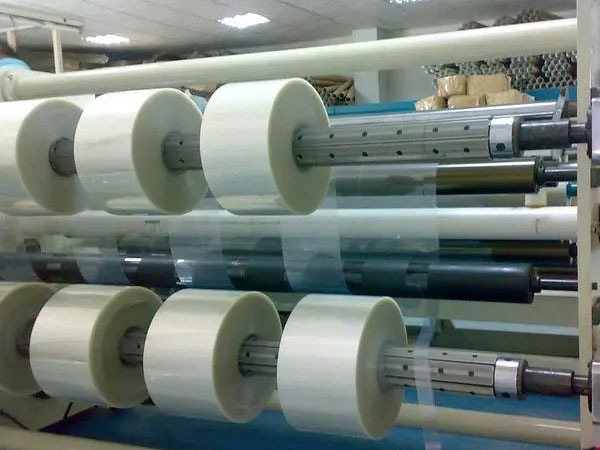 Film Slitting Machine


 +86 135 9951 7291
 support@delishgroup.com
 +86 135 9951 7291